
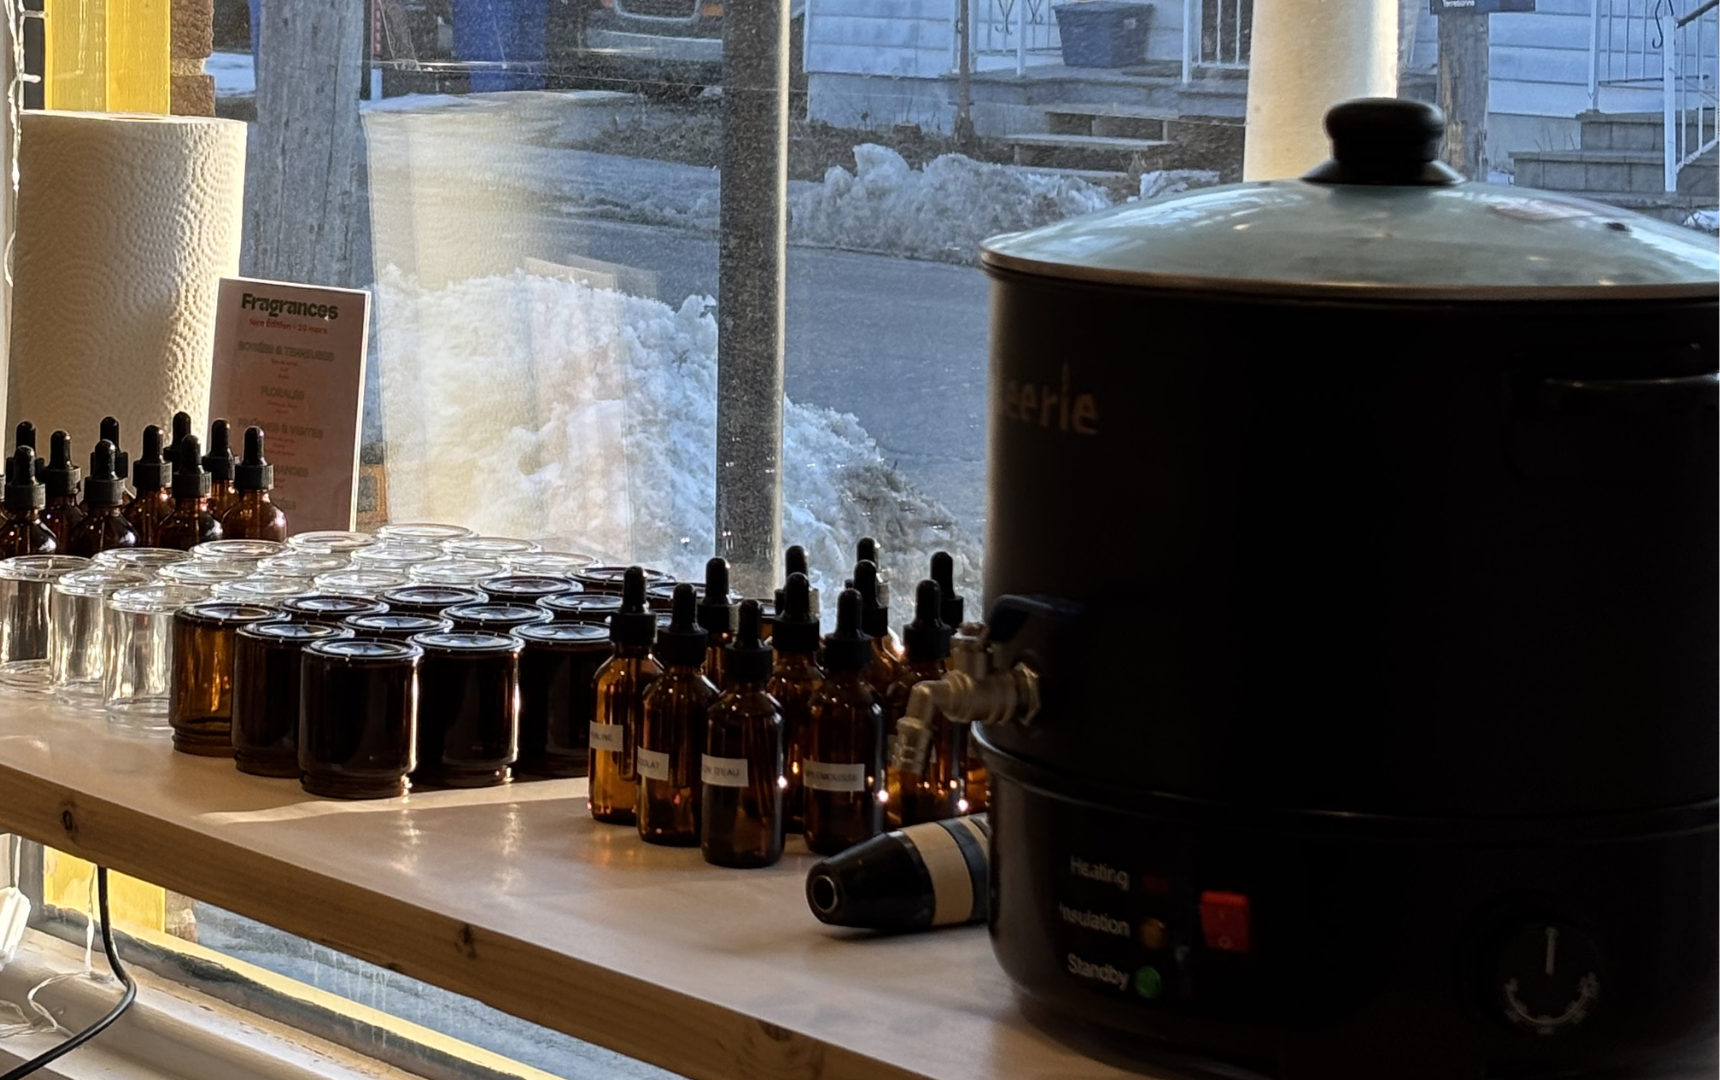
We've just finished our first edition of Wax & Wax, our candle-making workshop. Ten people around a table, hands in the wax, scents mingling, laughter. It was exactly what we hoped for.
For those who couldn't be there this time, here's exactly how we make our candles.
What you need before you start
No need for a lab. A well-organized kitchen and a few tools are enough! Here are the essentials:
Wax. We work exclusively with soy wax. It's plant-based, burns slower than paraffin, and is much cleaner to inhale. This was a conscious choice we made from the beginning.
Container. Glass jar, concrete jar, metal jar. The container influences how heat diffuses, and thus the final look of your candle.
Wick. Often underestimated, yet it makes all the difference. A wick that's too thick will make your candle burn too fast. Too small, and it will drown in the wax. We use untreated cotton wicks.
Fragrance. We choose phthalate-free and paraben-free oils. This is non-negotiable for us.
A thermometer. Temperature is the key to everything that follows.
Step 1: Melt the wax
We melt the wax in a double boiler, gently, monitoring the temperature. We aim for between 180 and 185 °F. Too hot and you risk burning the fragrance. Not hot enough and the wax won't mix well.
Step 2: Prepare the container
While the wax is melting, we attach the wick to the bottom of the container with a small adhesive sticker or a drop of hot glue. Then we center it using a wick clip or popsicle stick. It must remain perfectly straight, otherwise the candle will burn unevenly.
Step 3: Add the fragrance
When the wax has reached the correct temperature, remove from heat and add the fragrance. The ratio we use: approximately 10% of the wax weight, but this can vary depending on the type of wax you use. So for 500g of wax, 50g of fragrance.
Mix gently, slowly, for two full minutes. Don't rush this step, as it determines whether your candle will smell good for hours or just the first five minutes.
Step 4: Pour
Let the wax cool to about 130-140 °F before pouring into the container. Why? Because wax poured too hot will create bubbles and an uneven surface.
Pour slowly, keeping the wick centered. Fill almost to the top, leaving about one centimeter.
And then, we wait. Without touching. Without moving. Without testing. Let it rest for a minimum of 24 hours at room temperature.
Step 5: The first light
The moment of truth. But before lighting, trim the wick to about 5mm. A wick that's too long produces too large a flame that blackens the container and burns the wax too quickly.
The first burn should last at least two hours, ideally until the entire surface is melted to the edges. This is called the "memory pool" and it's what prevents your candle from tunneling down the center instead of burning evenly.
What the workshop taught us
What we saw during our first workshop is that people expect it to be complicated. Then they realize that no, it's not complicated. It's just meticulous. It's not the same thing.
What makes a good candle, ultimately, is the attention paid to it at each step.
And if you want to experience it yourself, our next workshop is coming soon. 👇
Stay tuned for upcoming dates by signing up for our newsletter at thesoukfactory.com
Share :
The importance of local craftsmanship in Quebec's economy